// / Draw a drop of sweat on the body in Photoshop
There are a large number of ways to draw liquids in general and drops in particular in Photoshop. We offer our version. How realistic and easy it is to implement is up to you to judge.
First, a little theory. Since Photoshop is a raster 2D graphics editor, to draw three-dimensional objects it is necessary to use the play of light and shadow. Someone will object and say that, starting with Photoshop CS3, it became possible to introduce three-dimensional objects into the editor. They will be right, but still the strength of Photoshop is in its artistic raster techniques, so we will consider them.
Water has several physical properties that make it possible to distinguish water in a painting from, say, a stone. These properties include: transparency, color tone, the ability to refract light, cast shadows, reflect light, and also a specific shape. Having understood all these properties and understanding how they affect the external visible appearance of the liquid (and in our case, drops), we can quite easily obtain the desired result.
If we were drawing a drop in a 3D editor, then the background image would have no meaning in principle. We could substitute anything there and just recalculate the result. In Photoshop, we need to decide on the composition in advance and, depending on the background, create an image of a drop.
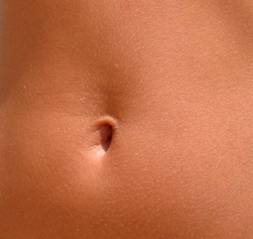
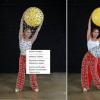
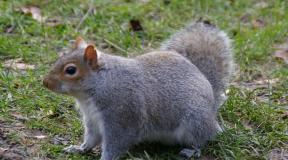
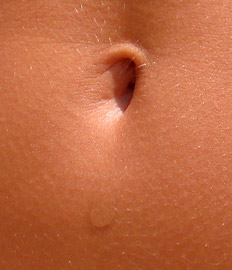
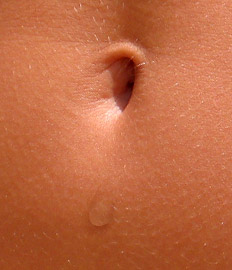
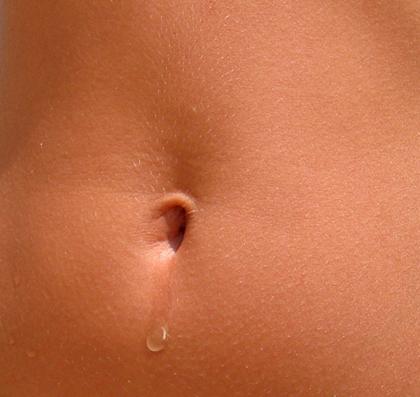
We took as a basis the most perfect form - the female body. Since we are depicting sweat, we need to decide on the place where it will be appropriate. In our case, this is the navel area. Under the influence of gravity, the drop rolls down, leaving a mark on the skin. Next, let's decide on the lighting. In the photograph, the bright light is directed with a slight deviation from top to bottom.
Perhaps this is all we need to consider in advance.
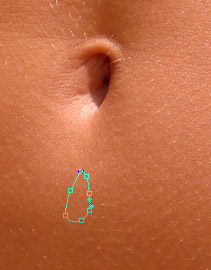
Step 1.
To begin, we will draw the shape of a drop. To do this, select the tool Feather (keyP) and create the required contour. Let's call the resulting figure “Drop”.
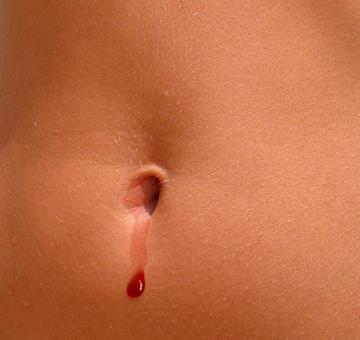
Now we don’t need the fill; we’ll set its value to 0%. If you need to tint the liquid, say, make it bloody, then filling the contour will determine this color, and the degree of application of the fill will determine its transparency.
Next we move on to the play of light and shadow.
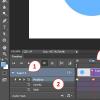
Right-click on the "Blob" layer. Select " Blending Options».
Let's deal with the shadows first. The drop itself, despite its transparency, casts a shadow. Moreover, the lower the transparency, the darker the shadow. This must be taken into account when drawing a drop from a slightly transparent liquid. Our shadow parameters are:

Please note that we turned off “global illumination” and selected the light source a little to the right from top to bottom, as determined earlier. The result is:
Since our drop is transparent, in addition to the outer shadow, we need to define the inner shadow:
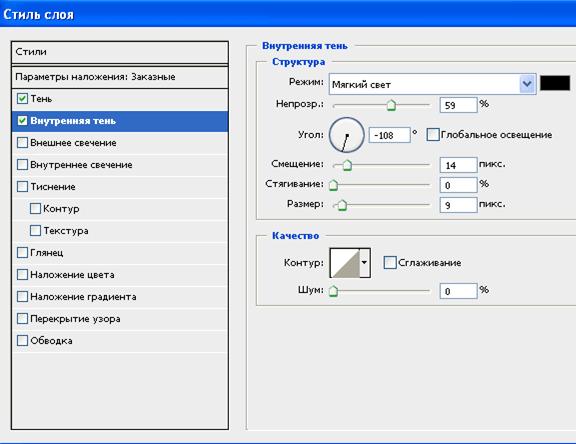
Global Illumination is also disabled, and we changed the direction of the light to the opposite.
So, we have formed the necessary shadows, now it's time to work on the light.
Step 2.
When light hits a drop, it passes through it and is reflected from the far outer wall. The effect of highlighting the convex part of the drop, farthest from the glow source, occurs. To reproduce this effect we use a gradient overlay: 
The gradient itself has two control points:
At position 0%: color – black, opacity – 0%;
At 100% position: color – white, opacity – 100%.
As you can see, our drop has gained volume, but there is not enough illumination of the outer walls, the so-called gloss. To do this we will use an overlay Glyantsa.
Please note that we do not use the mode soft light, A overlap.

With the appearance of gloss, we got an interesting glow, but from the light side it should be in the form of a bright highlight, and the drop itself at its source should be less convex. Let's correct this shortcoming.
Step 3.
Create a mask on the “Drop” layer by clicking on the corresponding palette button Layers. Select a black brush with low hardness and clean up the top part of the drop, painting with black on the layer mask.
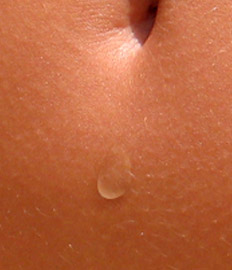
Now that we are satisfied with the shape of the drop, let's add a bright highlight.
Let's just create a new layer and select a small white brush. Let's draw an arc from the backlight side. The highlight can be moved to find the optimal position.
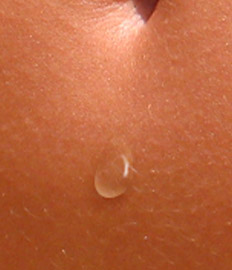
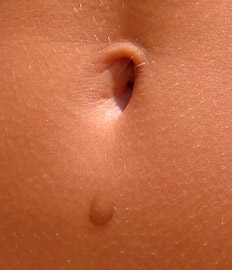
In conclusion, let us designate the route of movement of the drop from the navel.
Step 4.
Create a new layer and move it under our drop. On the palette Layers select mode Soft light, set the opacity to 20-25%. And with a brush slightly smaller than a drop with soft edges, paint a trace of movement in black.
A similar effect can be achieved with the tool Dimmer. And where you need to add a little glare, on the contrary, apply Clarifier.
If you work a little with the color overlay, you can get the effect of an opaque drop, in this example we drew a drop of blood:
Our drop can also be used as tears mixed with mascara and dew on a flower, etc. Photoshop allows you to realize any creative tasks, if only you have patience and desire...