Crop photos using Windows
Often random people or objects get into the frame. Who wants to show such photographs when there are strangers in the background, or a license plate is illuminated. There is a way out; you can crop the damaged area using software.
There are many programs for this, some of which are available directly from Windows, so you don’t need to search for anything or, especially, download anything.
How to crop a photo in Paint?
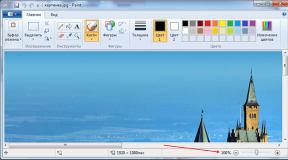
The standard Paint program is a good entry-level graphics editor that can help us with the issue of cropping graphics. You can find Paint through the search bar or in the list of programs in the “Standard” directory.
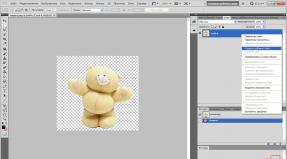
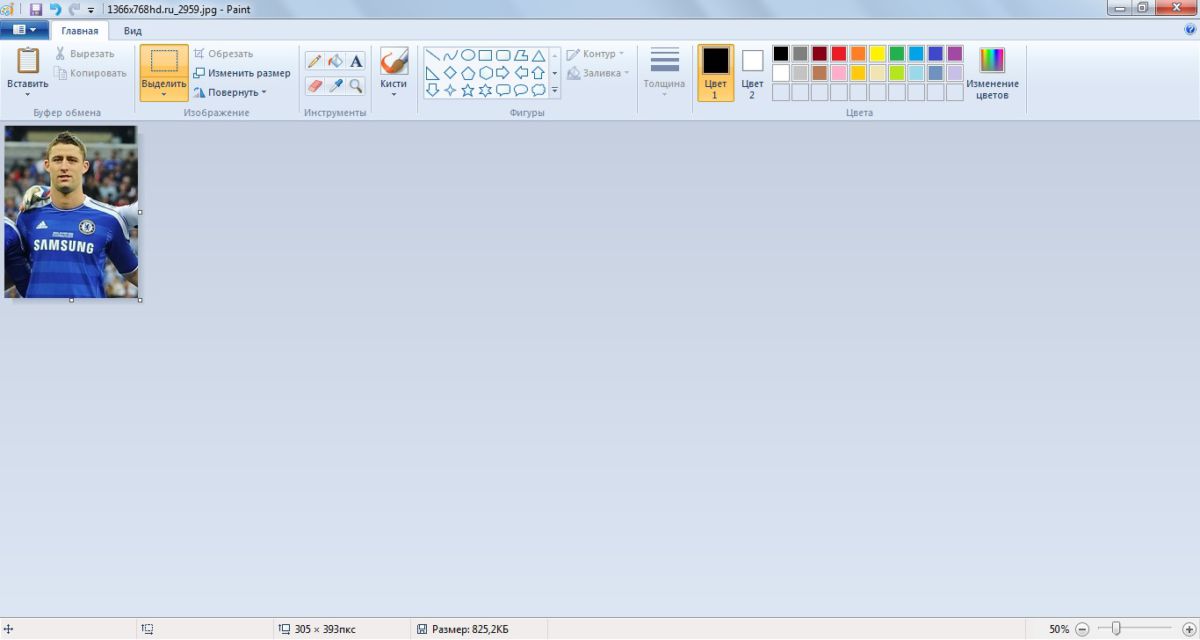
Open the image in any way available to you (via the Windows context menu or directly through the program). For trimming we took .
After the image is open, click on the “Select” icon at the top and select the “Rectangular Area” selection shape. Using the cursor (cross), select part of the photo and click on the “Crop” item in the top panel.
How to crop a photo in PictureManager?
PictureManager or Picture Manager is a Microsoft Office component that comes with most versions of the office suite, and can be found in the list of all programs (Microsoft Office -> Microsoft Office Tools).
Thanks to this program, you can completely customize a graphic file, not only crop it, but also adjust color characteristics and resolution, rotate it, etc.
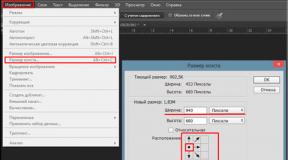
Open the photo in Picture Manager, and click Edit Pictures in the top bar. On the right we find the “Cropping” item, where using numerical values or dynamic sliders we set the cropping area.

After the area in the photo is selected, click the “OK” button at the bottom of the right panel. And save the result as a new image (File - Save As) or apply changes to the current file (File - Save).