“Puppet Warp” in Photoshop
No matter how beautiful static pictures are, sometimes it doesn’t hurt for them to become a little lively. How to add movement to a picture you like? Very simple. To do this, Adobe Photoshop has a unique “Puppet Warp” function. Let's look at a small example of how it is used and what it gives.
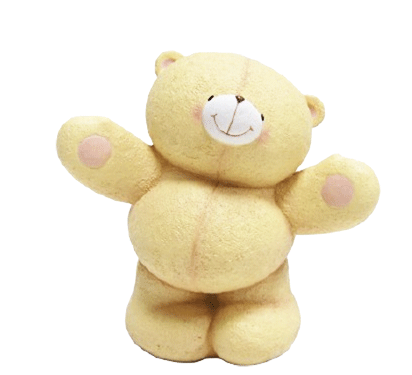
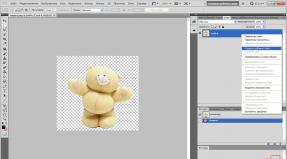
We open it, to which we will give movement. Please note that it is necessary that the image that will undergo transformation must be detached from the background image. Therefore, initially it will be convenient to train on clipart (a cut-out image on a transparent background). You can also cut out the desired image from the overall image using the Straight Line Lasso tool as indicated by arrow No. 1 or the Magnetic Lasso tool indicated by arrow No. 2 or the Free Pen tool indicated by arrow No. 3.
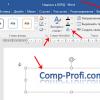
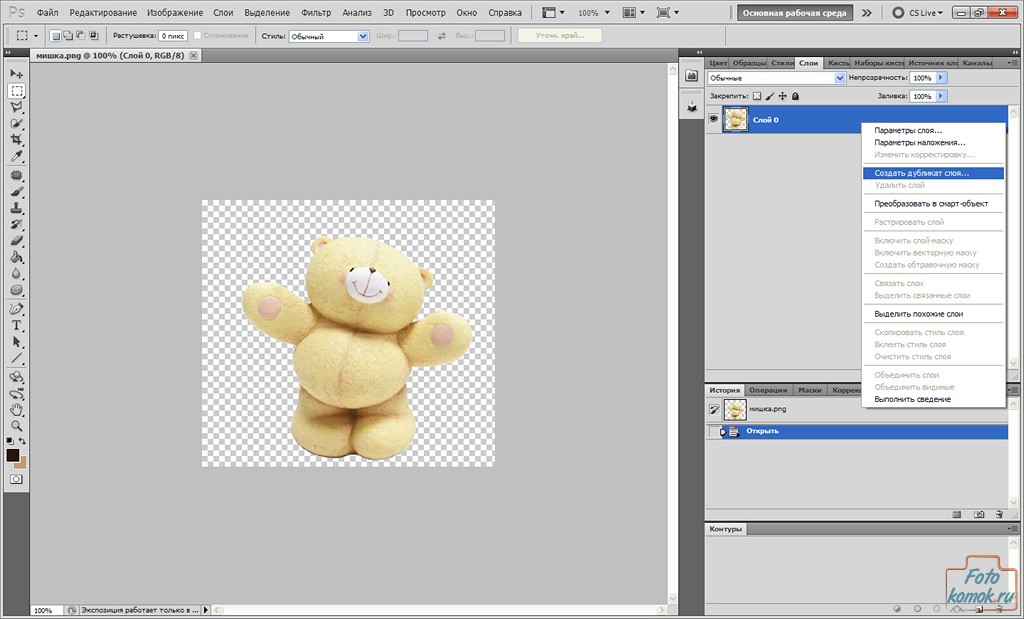
So, the picture is ready to go. Make a copy of the layer. To do this, on the layer that you want to copy, right-click and select “Create a copy of layer” in the menu that appears.
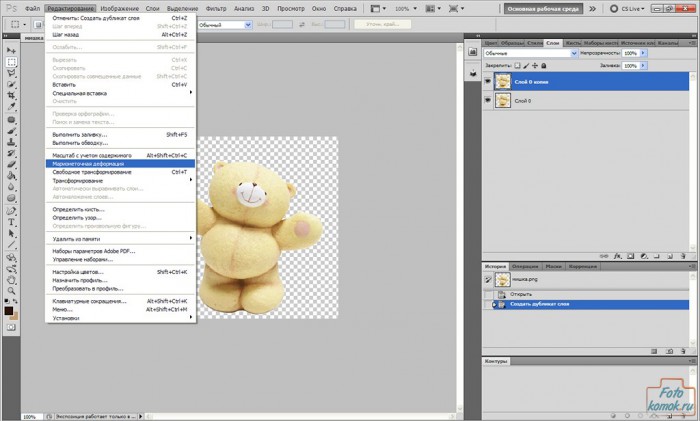
Go to the “Editing” tab, “Puppet Deformation” function.
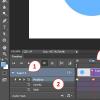
We determine which parts of the image will undergo transformation, and those that should remain static are secured with “pins” - yellow dots that are set with the left mouse button.
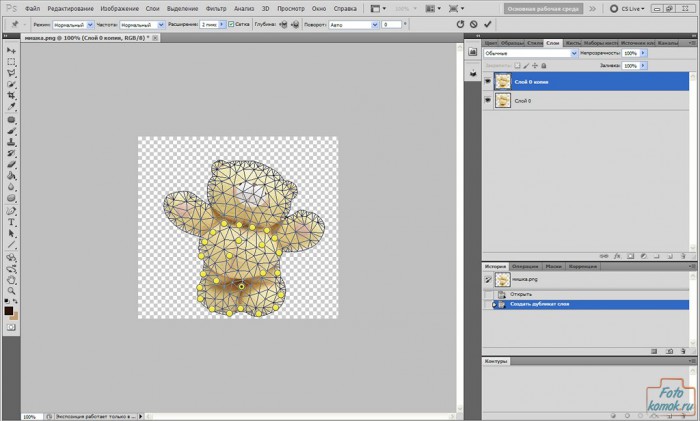
Now those parts that should be set in motion, hold the left mouse button, move them slightly and secure them with a pin. This will be noticeable by the deviation of the image from the previous position against the background of the first layer of the same image.

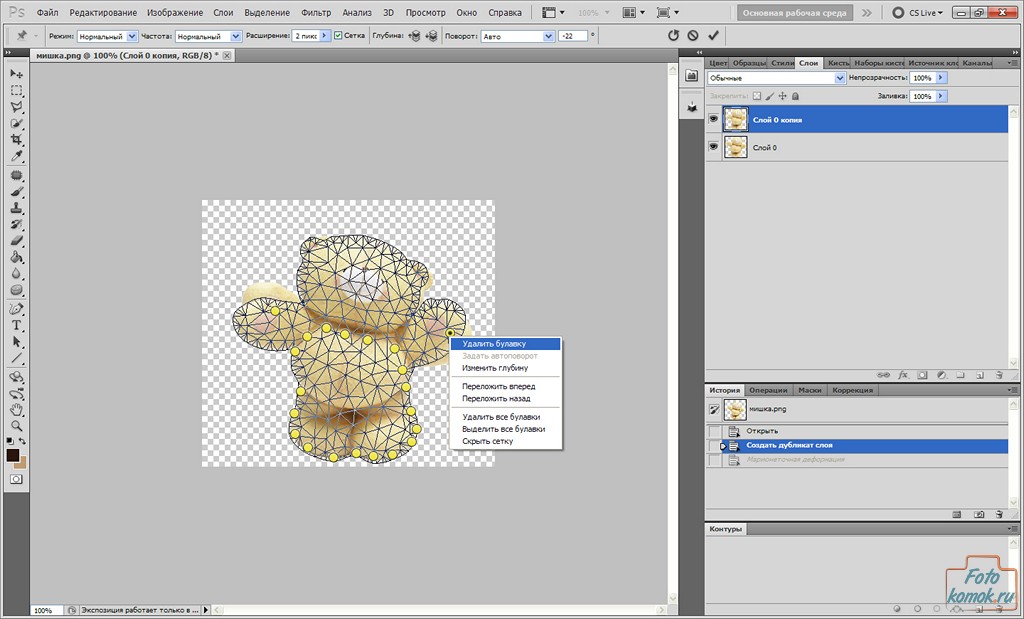
If suddenly a pin was installed in the wrong place or it is redundant, then you can delete it; to do this, press the right mouse button while standing on the pin and select “Delete pin” from the menu.
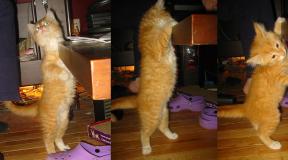
It is worth noting that this “Puppet Deformation” function can be used either to correct an image or to make animation.
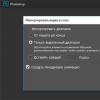
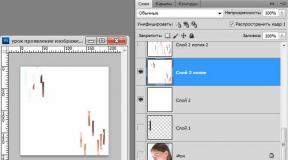
Now let's move on to creating animation. In the “Window” tab, select the “Animation” function.
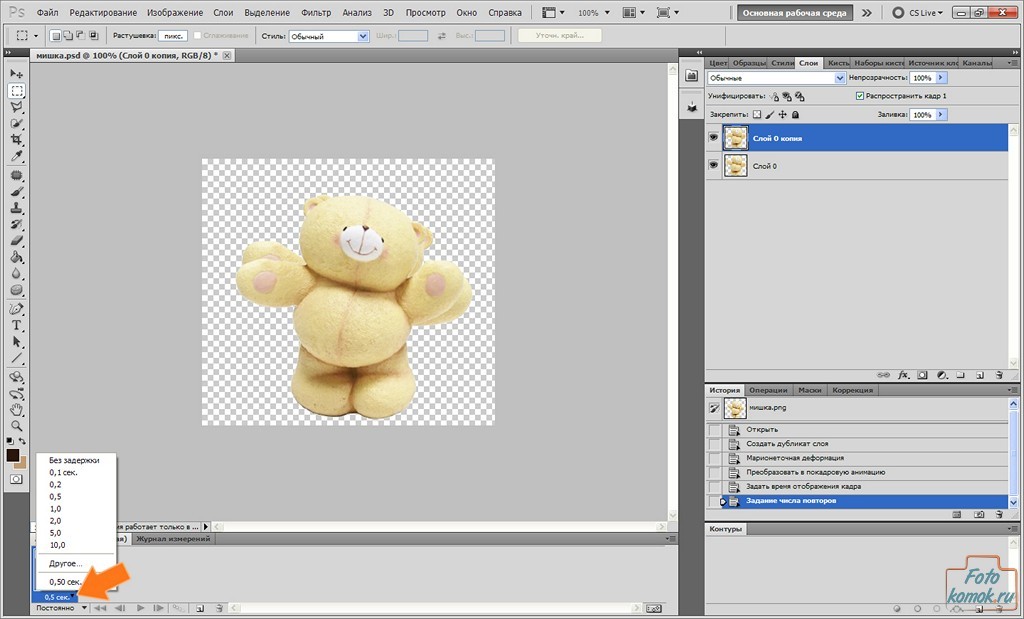
At the bottom of the working file (the file with which changes are made) a storyboard strip appears with the first frame. We set the time on the frame to 0.5 seconds. To do this, click on the triangle, as shown by the arrow, and select 0.5 from the list that opens.
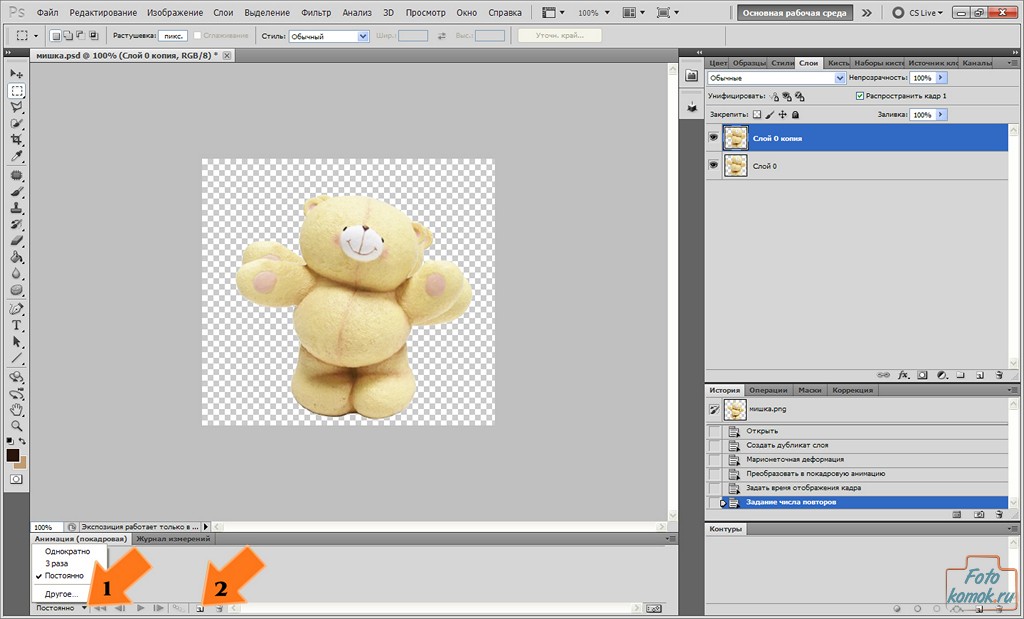
In order for the animation to be constant, you need to select the “Constant” cycle parameter as shown in the figure with arrow No. 1. Next, copy the frame as shown in the figure with arrow No. 2 by pressing the leaf.
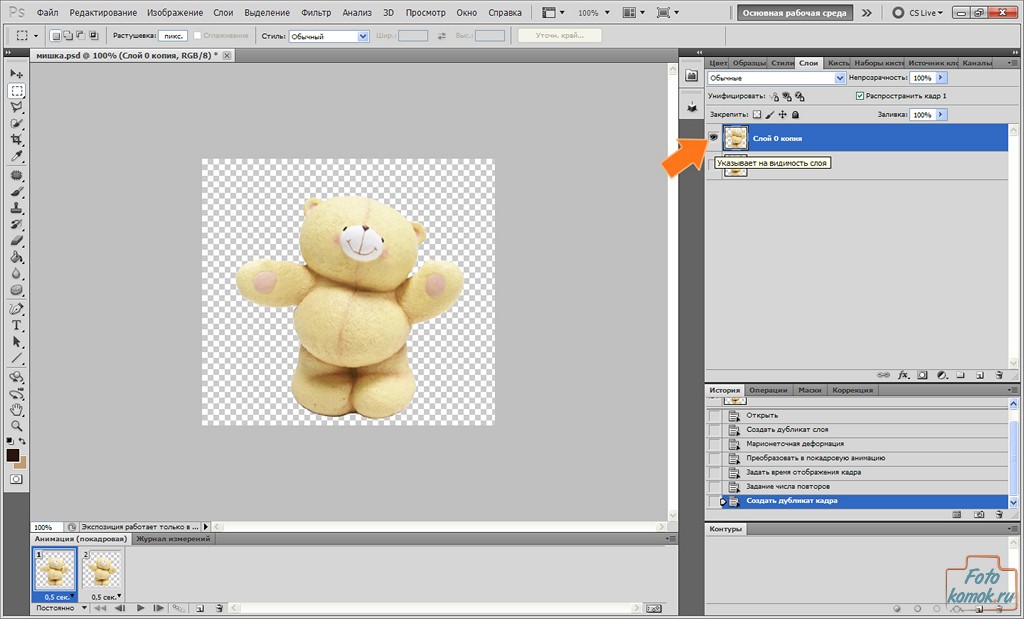
Now for the first frame we make the first layer with the image visible, and from the second layer with the image we remove visibility. For the second frame, only the second layer is visible, and remove visibility from the first layer with the image. To do this, in order to remove visibility from a layer, you need to use the left mouse button to remove the eye from the layer in the layers window, as shown by the arrow.
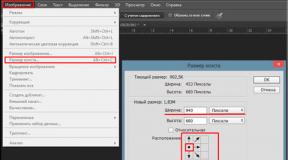
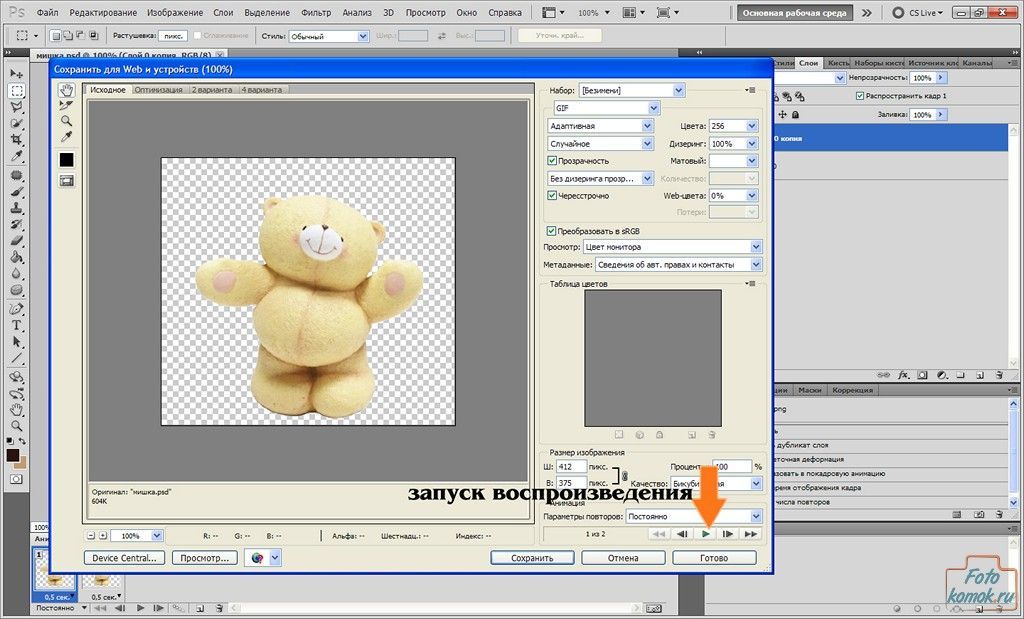
Let's move on to saving the image. Since we have animation, in the “File” tab we select the “Save for WEB and devices” function. In the window that opens, set the parameters as in the figure, click on the play button, as indicated by the arrow, and click “Save”.
In the dialog box, set the file name, select a location to save and click “OK”.
The picture is ready.