How to combine pictures in Word
If your document has several pictures that make up one picture, but each one is a separate image, then moving the entire composition in or out is quite difficult. To do this, it is better to group all the pictures in Word into one whole picture. And I will tell you how to do this in this article.
We will combine several drawings into one, and I will also show how you can group a drawing and an inscription. I have Word 2010 installed, but these recommendations are suitable if you are using Word 2007, 2013 or 2016.
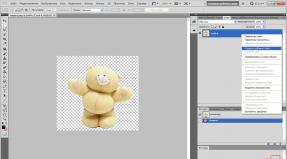
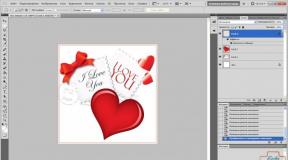
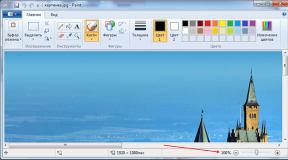
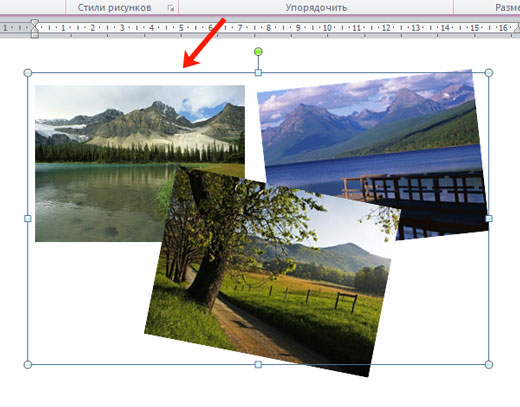
So, add all the necessary pictures to the document and place them on the sheet as you need. As you can see, they are all unrelated to each other and stand out separately.
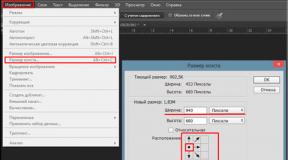
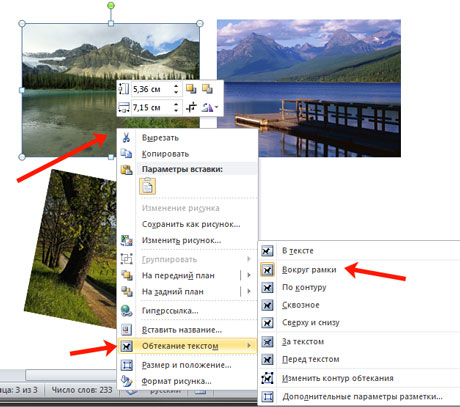
The next thing you need to do is change the type of flow. When added to a document, the images are assigned the “In text” wrapping, but... with this type of wrapping, it will not be possible to combine the images.
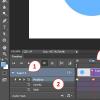
In the example, I selected "Around frame". Do this for all images.
After you finish with the previous point, you can overlay a picture on a picture in Word, you can read more about this by following the link.
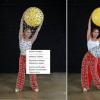
Next, select one image, press and hold the “Ctrl” key. Hover your mouse cursor over other pictures, and when it looks like an arrow with a plus sign, click on them to add to the first selected one. Select everything in this way and release “Ctrl”.

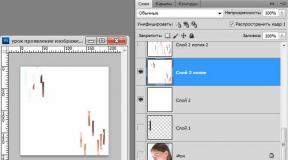
Right-click on one of the selected images and select “Group” in the context menu.
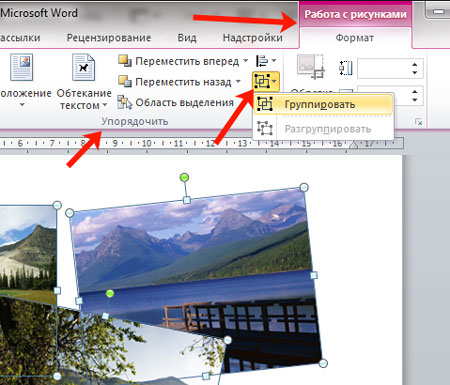
Or go to the tab "Working with drawings"– “Format” and in the “Arrange” group, click on the “Group” button.
After this, they will all be combined, and one common frame will appear around them. Rotate, enlarge or reduce the entire composition.
By the way, to change any of the pictures, you don’t need to ungroup the object; first select the entire group, and then click on the one you need. A frame with markers will appear around it, and you can change it.
If, for example, you are making a postcard in Word or just an informational inscription, then in addition to pictures you will also have text, which would also be nice to group with images.
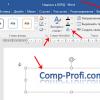
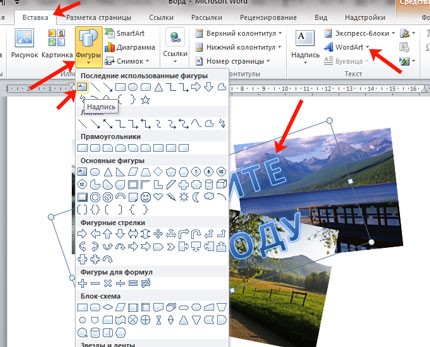
To do this, you need to consider the following: it needs to be not just printed, but inserted into the document as an “Inscription” or a WordArt object. On the “Insert” tab, you can select “Shapes” - “Inscription” or click on the “WordArt” button.
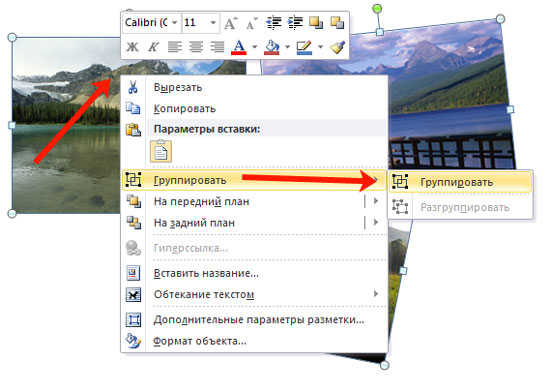
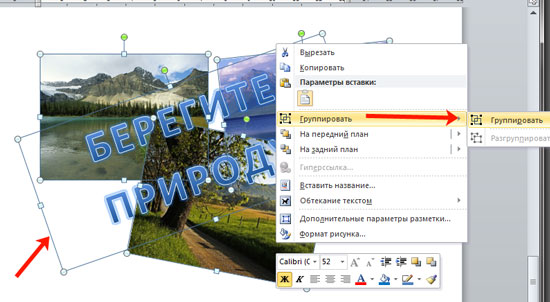
I added the block using WordArt. Please note that all my pictures are ungrouped. Therefore, I select the pictures and the inscription with the mouse, holding down the “Ctrl” key while selecting. To select a block with text, you need to click on the border. To do this, move the mouse along the edge of the rectangle with the text (the border will not be visible), and where the cursor changes to an arrow, click the mouse.
When you have everything selected, right-click on any selected object and select “Group” from the context menu.
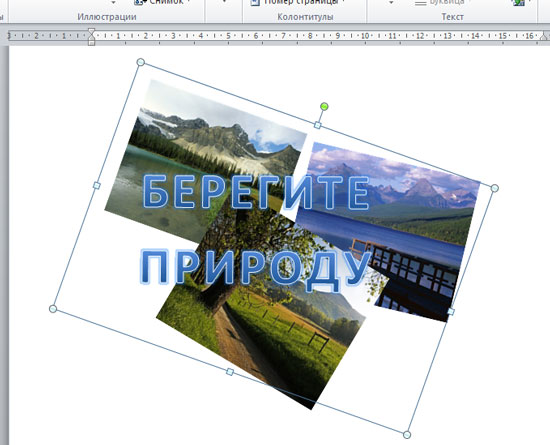
Now you can rotate the created composition, reduce it, move it, etc.
So, in just a couple of mouse clicks you can make one overall drawing from individual pictures. And now, if you need to move them a little, you don’t have to do it separately for each, you can move the entire grouped object at once.
Rate this article: