How to quickly create GIF animation in Photoshop
GIFs are everywhere. The once humble animated images are now the unofficial language of the internet. GIF animation is the fastest way to express emotions on Twitter, and we can also spend hours watching it while scrolling through the news feed on VK, Facebook or Odnoklassniki.
There are quite a large number of sites where you can find ready-made gifs on a variety of topics. But nothing beats GIF animation that you made yourself. Do you think this is a difficult process? You're wrong, it's quite simple. You can quickly create a GIF animation in the Photoshop graphics editor, converting an existing video, or using a series of static images. Let's take a closer look at how this is done.
Note: In all the examples in this article, I'm using Photoshop CC 2017.
How to create GIF animation from video
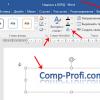
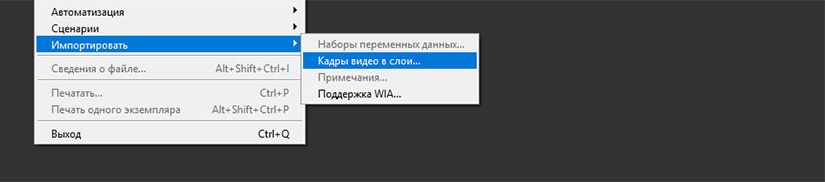
First, you need to launch Photoshop, go to “File” > “Import” > “Video Frames to Layers” and select the desired video recording.
In the dialog box that opens, you can import the entire video recording, or select only a certain part of it. If you choose the second option, drag the handles below the preview window to set the start and end points. The portion of the video between these handles will be imported.
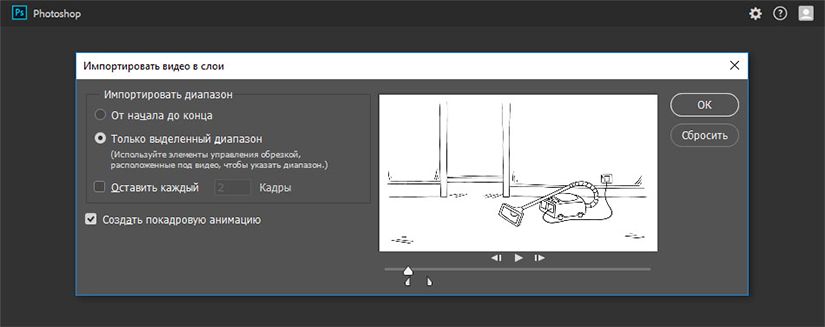
Note: Keep in mind that the more video you import, the larger your GIF will be. Also, if you're importing a video that's too long, choosing Keep Every 2 Frames (or more) is an easy way to reduce the size without affecting the quality too much.
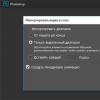
Make sure the Create frame-by-frame animation checkbox is checked, then click OK. The video import process will begin. This may take some time, depending on the size of the clip. Once the import is complete, a work area will open in which each frame of the video will be placed on its own layer.
At the bottom of the screen there is a time scale palette. It shows all the frames that will make up your GIF animation.
You can add and remove frames as you see fit, or edit any of the existing layers the same way you edit layers in any other image. To preview your GIF animation, simply click the Play button at the bottom of the timeline.
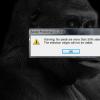
The end result should be something like this:
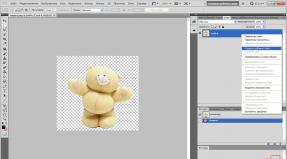
Creating GIF animation from a series of static images
If you don't have video footage to use as the basis for your GIF animation, you can create one manually from a series of static images. It's a little more complicated, especially if you want to make something cool, but the basic process is simple.
You create your GIF from a single image file containing multiple layers. Each layer is a separate frame of your future animation. There are two ways to get started:
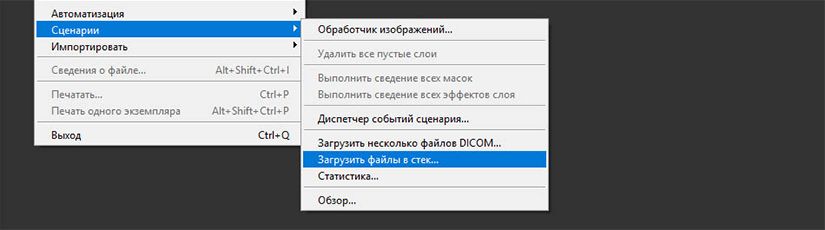
- If you've already created images for your animation, import them by choosing File > Scripts > Load Files into Stack.... Click Browse and select your images, then click OK. Each image will be placed on a separate layer within the same file.
- If you haven't created images yet, do so now. Remember that each individual image is part of the future animation.
Now you are ready to start creating animation.
Animating static images
Here's how it works. When you manually create an animation frame, every visible layer is included in it. Layers that are disabled will not be included in the generated frame.
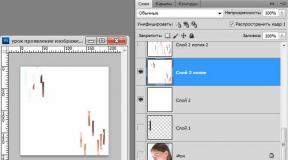
To create the first frame, make the very first layer visible and turn off all the others. Then, when creating the second frame, make the second layer visible, and then the third layer on the third frame, and so on. Once you start, everything will become clearer.
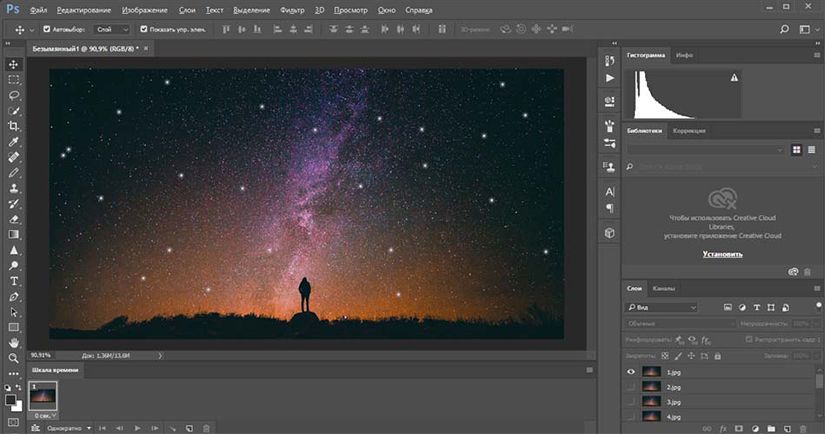
To start creating an animation, open the timeline if it does not open automatically for you. To do this, click “Window” in the top panel and select “Timeline” in the menu that opens. In the center of the panel that opens, click “Create frame animation.” This action will create the first frame of your animation. In the Layers palette, hide layers that you don't want to be part of the frame.
Now click the "New Frame" button, which will duplicate the previous frame. Once again, hide the extra layers, and make those that should be included in the frame visible.
Repeat this process until you have added all the frames needed for the animation.
Completion
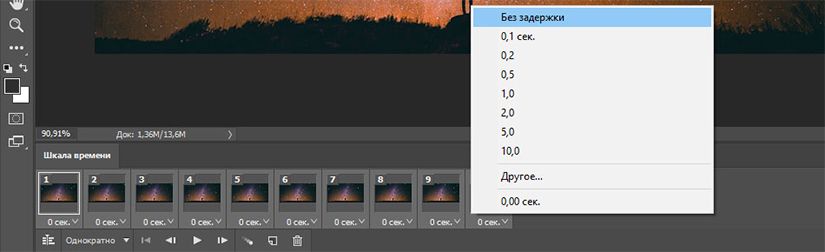
Finally, set the display time for each frame. Select the first frame, and then Shift-click on the last one to select them all. Now click the down arrow below one of the frames and select a delay. No delay means the animation will run quickly, while the set number of seconds will cause the frames to remain on screen for a set period of time.
Finally, set the loop options, which you'll find at the bottom of the Timeline panel. This parameter controls how many times your animation will play. In most cases, you will select the "Always" option.
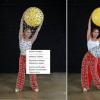
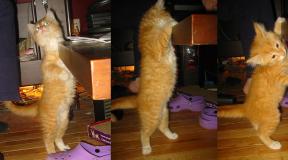
Now click the Play button at the bottom of the screen to view the resulting animation. You should see something like this:
You can edit frames by simply selecting them and changing the visibility of the layers (you can also change the opacity or make other more complex settings). Add additional layers if you need them, or click the trash can icon to delete them.
When you're happy with the result, you can move on to the "Saving Animation" section, or read on to improve the resulting animation.
Enhancing animation by adding intermediate frames
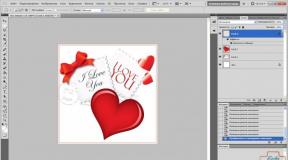
Photoshop supports a powerful animation tween feature. This allows you to create smoother animations by automatically generating transition frames between two existing frames. In this example, I'm going to go through all the frames to give the starry sky a twinkling effect.
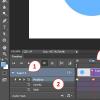
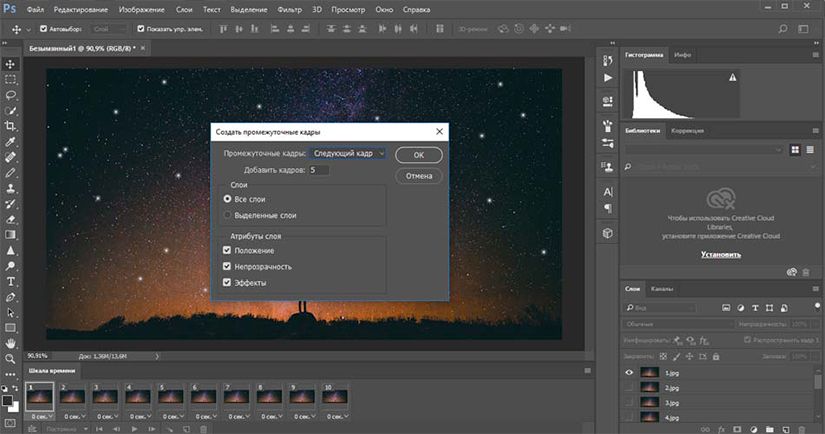
To begin, select the first frame and click the Create Tweaks button in the toolbar at the bottom of the timeline.
In the dialog box that opens, set the “Intermediate frames” item to the “Next frame” value, and for the “Add frames” item, specify the value at your discretion. A higher value means a smoother but slower transition. Click "OK" to create the intermediate frames.
Now repeat this process for the other source frames you added. When you get to the last one, set "Inbetween Frames" to "First Frame". This will help create a smooth transition to the start of your animation loop.
Click the play button to preview the effect.
Saving Animation
When you're done, first save the file in ".PSD" format. This will save all the layer and animation information so you can edit your animation later if needed. After this, you can proceed directly to saving.

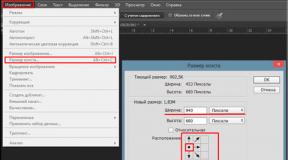
To save the created animation, go to "File" > "Export" > "Save for Web (old version)...". In the window that opens, select the GIF format, and enter 256 in the “Colors” field. To reduce the overall file size, reduce the size in the “Image Size” field.
You can see the size of the animation in the lower left corner of the preview window. If it's too large, drag the Waste slider to the right. This will affect the quality, but will significantly reduce the file size.