How to crop a photo in Paint
There are many advanced photo editing programs available. Such programs are equipped with many functions, and they are much more convenient to use than the Paint program. However, these programs are not always at hand, while the Paint graphic editor is built into the Windows operating system and is available on every computer.
Now we will talk about how to crop a photo in Paint. Cropping is one of the basic manipulations with photography. Therefore, the ability to crop a photo using available tools is most in demand among users.
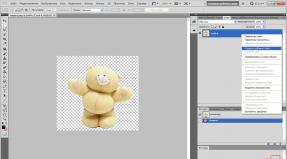
Step #1: Open the photo using Paint.
To open a photo using the Paint program, right-click on it and select the menu item “Open with – Paint”.
You can also first launch the Paint program, and then open the photo using the “File - Open” menu.
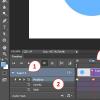
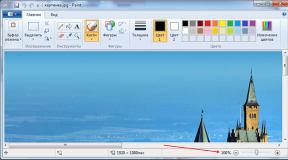
Step #2: Zoom out the photo.
Reduce the photo scale so that your entire photo fits in the program window.
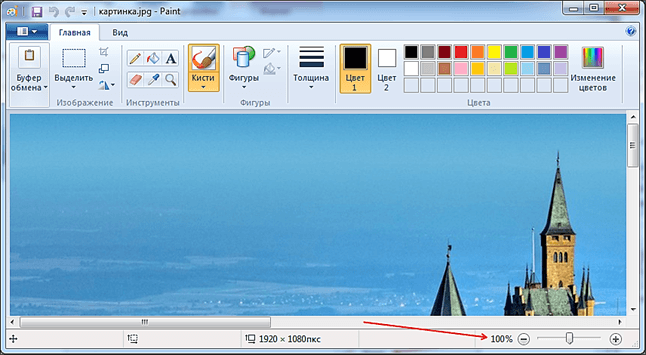
This can be done using a special slider, which is located in the lower right corner of the program window. You can also zoom out on a photo by pressing the CTRL key and turning the mouse wheel towards you.
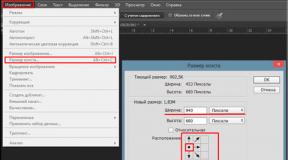
Step #3: Select the part of the photo you want to cut out.
Click on the “Select” button and mark the part of the photo that should remain after cropping.
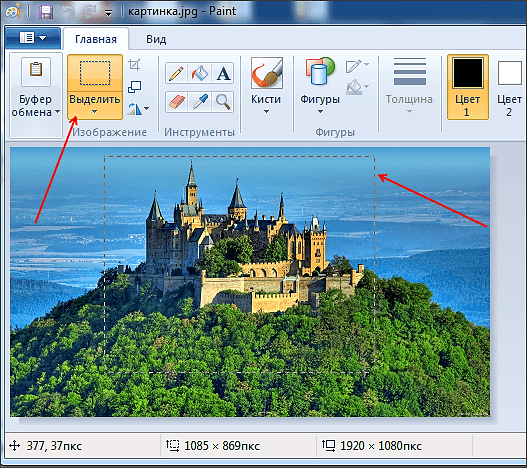
Note that the selection of the image area is done using a rectangle with a dotted line.
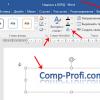
Step #4: Crop your photo in Paint.
After you have selected the desired area of the picture, you need to click on the “Crop” button. This small button is located next to the Cut button.
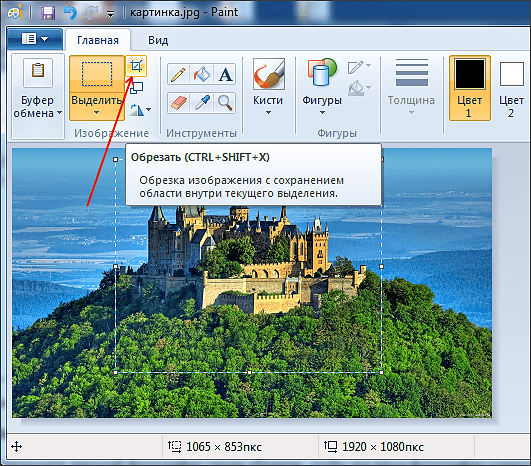
Also, after selection, you can activate the cropping function using the keyboard. To do this, use the key combination CTRL + SHIFT + X.
Step #5: Save the cropped image.
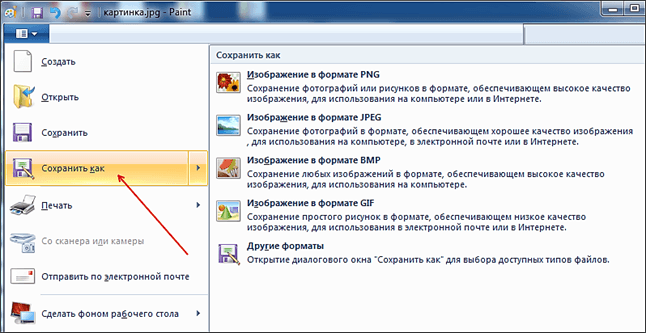
To save, you can choose one of the available formats: PNG, JPG, BMP or GIF.